Setting The Skybox In Unity HDRP
The process to set up the skybox in HDRP is quite different to the other render pipelines, so today I will show you how.
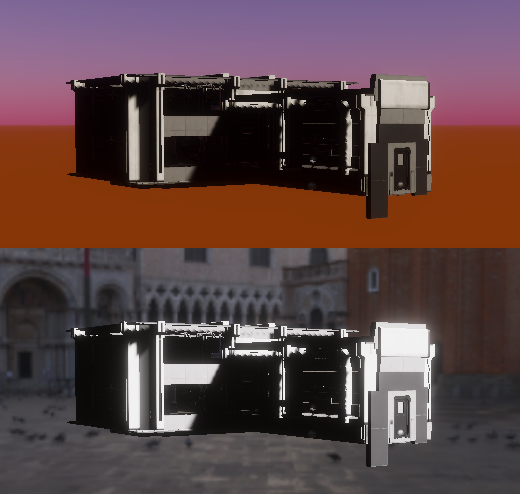
Today’s Objective: Show the process to create and show a custom skybox in a Unity HDRP scene.
The Process:
Unlike in URP, the skybox of a scene is not simply set via the Environment tab of the Lighting window.
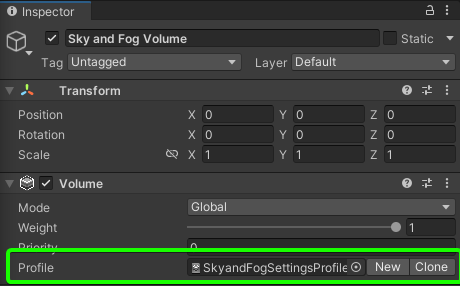
Instead, you need to create a “Sky & Fog Volume”, similar to how you would create a Post Processing Volume, in the scene.

Set the Profile asset to use (default or a new one):
The Visual Environment override controls what type of sky/skybox is used, and also has in-built options for cloud cover.
Based on what “Sky Type” you choose in the Visual Environment, you will need to add and use one of the additional overrides.
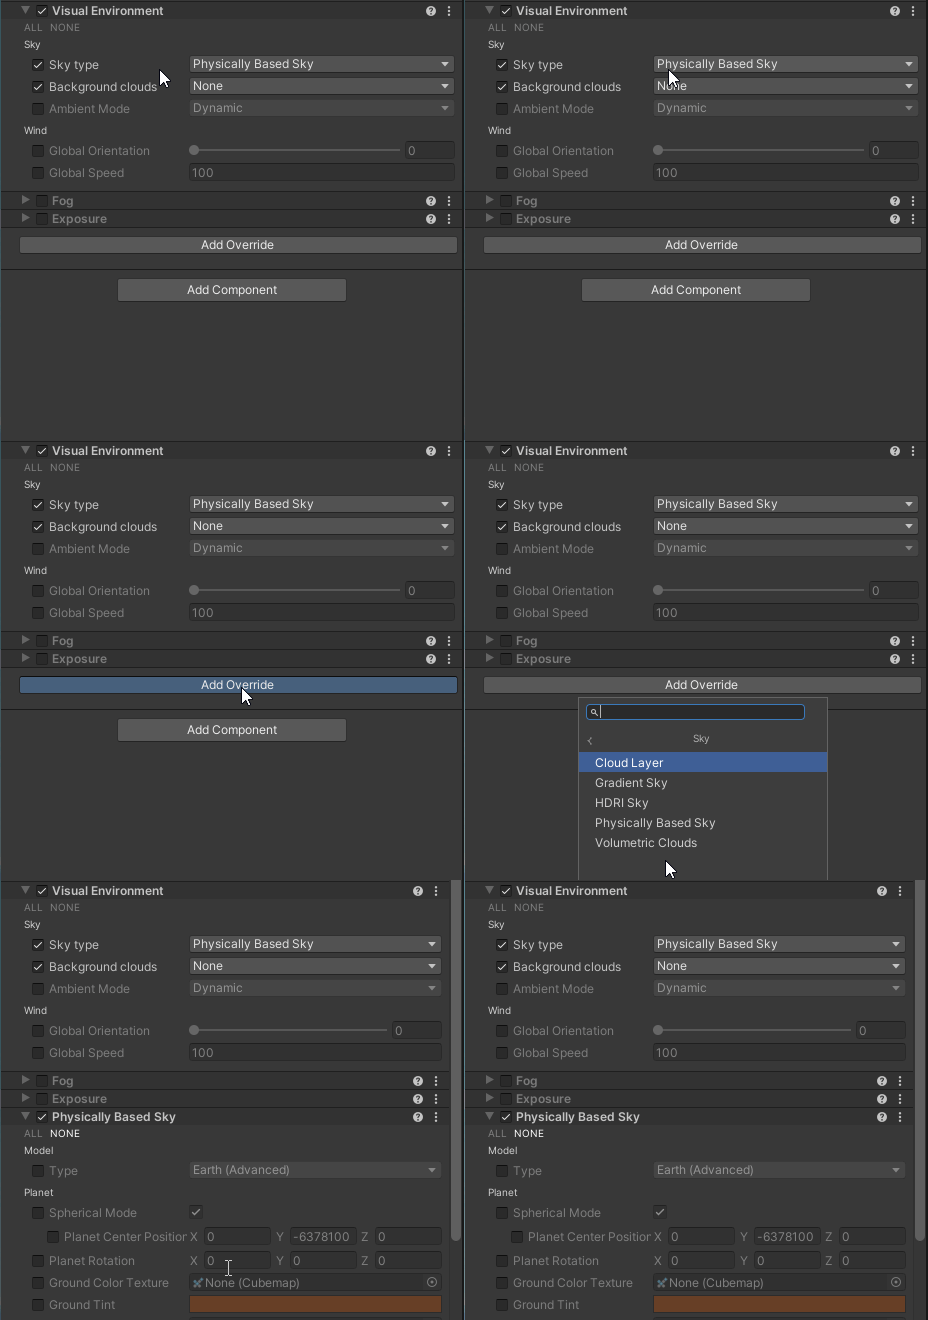

HDRI Sky:
Using the HDRI Sky, you can set the skybox texture using a Cubemap, just like those used in URP.

This option is suitable for when an image, like a panoramic photo, should be used as the skybox.
Physically Based Sky:
While the “Physically-Based Sky” option allows for the creating of a more procedural sky. Specific colors can be individually set, as well as many other options that allow for tighter control over the appearance of the procedural sky.


This option works well for when you need a controlled but untextured skybox.
Gradient Sky:
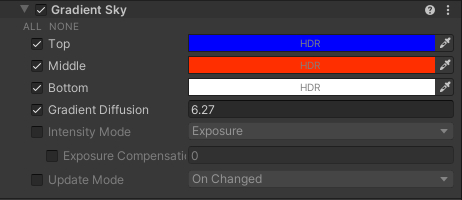
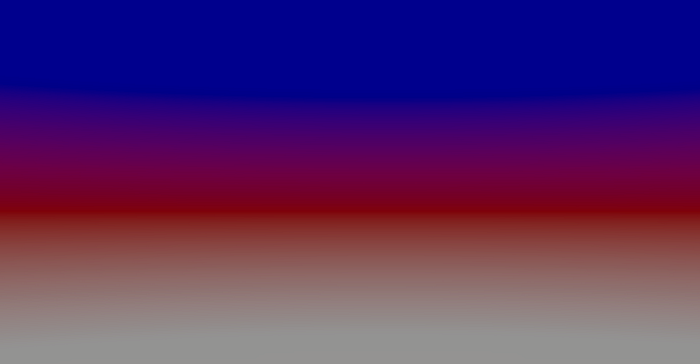
The Gradient Sky is the last of the sky options available currently. It is basically a simplified version of the Physically Based Sky, in that you can set 3 different colors which will be blended to create a procedural sky. There are far less controllable options for this sky, but it may be enough depending on your project needs.
